
 EN
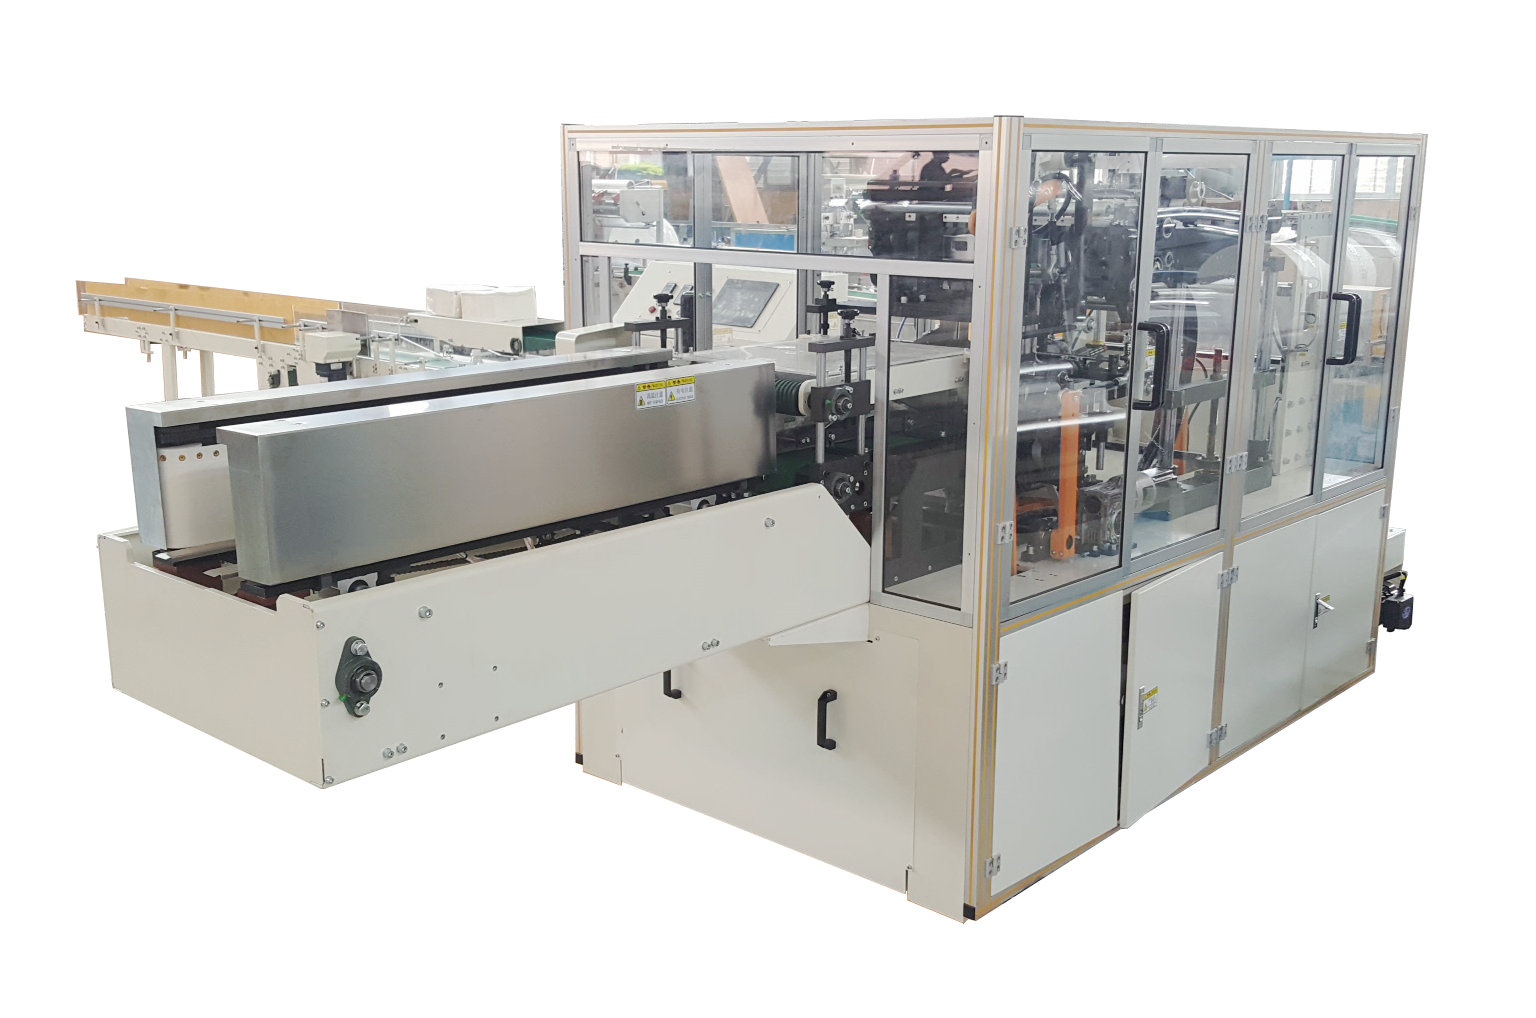
Core Mechanics of Embossing Depth Adjustment
Pressure, Plate Geometry, and Material Compression in Embossing Glue Lamination Machines
Depth control on an embossing glue lamination machine hinges on three interdependent factors: applied pressure, plate geometry, and substrate compressibility. Rollers or platens press the embossing plate into the glued laminate stack—higher pressure increases depth, but excessive force risks crushing paperboard or causing glue bleed. Plate geometry dictates mechanical demand: sharp, deep engravings require greater pressure to fully transfer, while shallow, broad patterns engage with less force. Substrate compressibility—the percentage of thickness loss under load—determines how far the plate sinks. Softer materials like corrugated board compress more readily, enabling deeper embossing at lower pressure; stiff laminated boards need higher force but are prone to cracking if over-compressed. Recognizing this balance allows operators to set accurate initial depth values and minimize setup waste.
Calibrating the Depth Adjustment Wheel: Best Practices for Consistent Output
After accounting for pressure, geometry, and material behavior, precise calibration of the depth adjustment wheel is critical. Most machines use a mechanical dial or digital interface to adjust the anvil or platen gap in sub-millimeter increments. Begin by loading a test sheet at production feed rate and glue temperature. Rotate the wheel until the plate just contacts the substrate—mark this as the zero reference point. Then advance the wheel in consistent increments (e.g., quarter-turns), running short samples after each step. Measure resulting depth using a micrometer or profilometer and log dial position against measured value to build a repeatable reference map. Always lock the wheel post-adjustment to prevent vibration-induced drift. Recalibrate whenever plates or material batches change—this ensures ongoing depth consistency across shifts and jobs.
Optimizing Machine Parameters for Target Depth
Balancing Power, Depth %, Passes, and Resolution on Embossing Glue Lamination Machines
Achieving target embossing depth consistently requires careful coordination of four key parameters: power, depth percentage, number of passes, and resolution. Power governs peak embossing force—increasing it deepens the impression but risks deformation without matching depth control. Depth percentage sets the proportion of maximum possible depth applied per pass; lower percentages (e.g., ≤30%) paired with multiple passes yield more uniform results on thick or layered substrates. Resolution—typically expressed in dpi—affects pattern fidelity: higher values (up to 600 dpi) enhance detail but demand finer power distribution to avoid localized tearing. The table below summarizes evidence-based optimization strategies:
| Parameter | Effect on Depth | Recommended Strategy |
|---|---|---|
| Power | Directly proportional to depth | Start at 50–70% and increase incrementally only when needed |
| Depth % | Controls per-pass contribution | Keep ≤30% per pass for laminated or thick substrates |
| Number of Passes | Enables cumulative, controlled depth buildup | Use 3–5 passes for deep embossing with minimal distortion |
| Resolution | Influences detail retention and stress concentration | Max 600 dpi for standard glue lamination films |
Adjusting these variables in small, documented steps enables precise depth targeting without sacrificing pattern clarity or structural integrity.
Influence of Sandwich Layer Setup and Platform Adjustability on Depth Accuracy
The sandwich layer—comprising glue film, substrate, and backing—dictates how pressure and heat distribute during embossing. Even minor inconsistencies—such as misaligned glue film, wrinkles, or variable substrate thickness—cause measurable depth variation across the impression area. Before operation, verify all layers are flat, tensioned evenly, and free of air pockets or debris. Platform adjustability further refines accuracy: many machines feature micrometer-precise platen height control, allowing fine-tuning of the initial gap between plate and substrate. A proven best practice is to run a scrap test, measure depth at multiple points with a calibrated micrometer, and adjust platform height until readings fall within ±0.05 mm of target. Without proper sandwich preparation and platform calibration, even optimally tuned power and pass settings cannot deliver repeatable depth.
Plate Systems and Make-Readies for Depth Control
Rubberized vs. Charcoal Plates: Deformation Response and Depth Stability in Glue Lamination
Plate material significantly influences depth repeatability. Rubberized plates offer high elasticity, conforming to minor substrate irregularities and reducing initial setup complexity. However, their viscoelastic nature leads to progressive fatigue over thousands of impressions, introducing subtle depth drift. Charcoal plates, by contrast, exhibit near-zero plastic deformation under operational loads. Their rigidity delivers exceptional depth stability across long runs—critical for high-volume applications where tolerance adherence is non-negotiable. That said, charcoal plates demand tighter make-ready tolerances and higher initial clamping force to ensure full contact. Operators must weigh trade-offs: rubberized plates accelerate commissioning; charcoal plates sustain tighter depth control over time—especially when validated against ISO 12647-2 standards for print and emboss registration.
Validating and Troubleshooting Embossing Depth Results
Validating embossing depth is essential for maintaining specification compliance and process control. Operators should routinely measure embossed pattern height (in microns) against design intent using calibrated profilometry—not just visual inspection—and record deviations alongside environmental data such as ambient humidity (RH%) and ink viscosity. Premature plate wear—evidenced by hazy impressions, inconsistent pressure feedback, or rising rejection rates—often signals emerging depth instability. Root causes include substrate shrinkage exceeding plate dimensional allowances, roller pressure imbalance across the web width, or servo drive calibration drift following extended high-load cycles. Effective troubleshooting isolates variables: gray-level analysis identifies fidelity loss before depth deviation becomes visible; thermogravimetric analysis (TGA) confirms glue film polymer stability under thermal processing conditions; and cycle-time audits help detect timing-related compression inconsistencies. Implement preventive maintenance aligned with OEM guidelines: quarterly servo drive recalibration and monthly infrared scans of heated platens ensure thermal and mechanical stability. Document all validation and corrective actions to support continuous improvement and audit readiness.
FAQ
Q1: What factors control embossing depth on a glue lamination machine?
A: Embossing depth is controlled by applied pressure, plate geometry, and substrate compressibility. Each factor affects how far the plate sinks into the laminate during the embossing process.
Q2: How should I calibrate the depth adjustment wheel?
A: Start by setting a zero reference point with a test sheet and then advance the wheel in small increments. Use a micrometer to measure depth and log the wheel position for consistency.
Q3: How can I optimize machine parameters for consistent embossing results?
A: Adjust power, depth percentage, number of passes, and resolution incrementally. Document these values and ensure proper coordination between them to achieve desired depth without affecting pattern clarity.
Q4: What are the differences between rubberized and charcoal plates?
A: Rubberized plates offer flexibility and quicker setup but may suffer from fatigue over time. Charcoal plates are more rigid, providing better depth stability but requiring precise setup conditions.
Q5: How do I troubleshoot embossing depth inconsistencies?
A: Check substrate alignment, roller pressure, and plate wear. Use tools like micrometers, thermogravimetric analysis, and cycle-time audits to pinpoint and correct issues.
